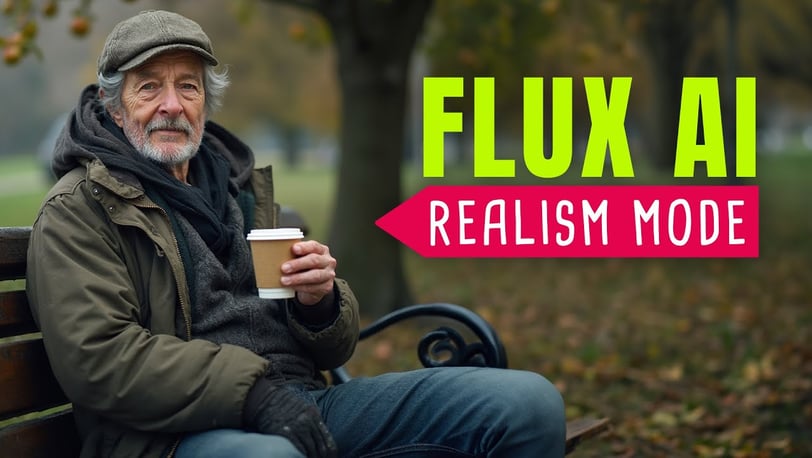
FLUX LoRA
Creating stunning, hyperrealistic images is no longer a dream but a reality with the power of FLUX AI combined with LoRA. This tutorial will guide you through the steps to bring your creativity to life using these powerful tools, all within your browser and without the need for high-end hardware. Let's dive into the world of AI-driven art and discover how you can make it a part of your creative process.
admin
8/30/20242 min read


Introduction to FLUX AI and LoRA
FLUX AI is a revolutionary tool that leverages advanced deep learning models to generate high-quality, realistic images. What makes FLUX AI stand out is its integration with Google Colab, enabling users to run complex image generation tasks on the cloud without requiring expensive hardware. This accessibility makes it a game changer for digital artists, content creators, and anyone curious about AI-generated art.
LoRA, or Low-Rank Adaptation, is a method that allows users to fine-tune their image outputs, adding layers of customization and detail. When combined with FLUX AI, LoRA empowers users to create images that are not only hyperrealistic but also uniquely tailored to their vision. Whether you’re looking to create breathtaking landscapes, intricate portraits, or abstract art, FLUX AI with LoRA offers a powerful platform to bring your ideas to life.
Setting Up FLUX AI on Google Colab
To get started with FLUX AI, follow these simple steps:
1. Access the GitHub link provided for the Colab notebook.
2. Go to the "Runtime" menu in the top bar and select "Change runtime type." Switch to GPU to speed up the process, click save, and then connect to the runtime.
3. Run the first cell in the notebook to install all dependencies and download the FLUX AI and LoRA models.
This setup might take a few minutes, but it’s well worth the wait. Once everything is loaded, you’ll receive URLs for Gradio and Hugging Face Spaces, where you can explore various tools like MidJourney, Stable Diffusion, and more. These tools are free to use and provide a wealth of creative possibilities.
Generating Images with FLUX AI
Once the setup is complete, you’re ready to start generating images. FLUX AI’s user interface is straightforward and easy to use, even for beginners. You’ll find options to adjust the width, height, and steps for your image generation, along with settings specific to LoRA.
For instance, you can change the width to 2048 pixels, set the steps to 28, and adjust the sampler to DPM2 for optimal results. Once you’ve configured your settings, click "Generate" and watch as your image comes to life. The process might take some time, but the outcome is truly worth the wait.
Whether you’re creating a surreal landscape, a detailed portrait, or an imaginative scene like Elon Musk holding a board with “I am rich” written on it, FLUX AI delivers stunning results that match your creative vision. The clarity and detail in these images are remarkable, making FLUX AI a top tool for 2024.
Experimenting with FLUX AI and Expanding Your Creativity
One of the most exciting aspects of FLUX AI is the ability to experiment with different settings and prompts. By playing with various options, you can push the boundaries of your creativity and learn new techniques in AI-generated art. The more specific your prompt, the better the outcome, allowing you to create highly personalized images that resonate with your artistic style.
You can even take your creations a step further by turning images into videos, all for free. A full guide on this process is available in a video. The possibilities with FLUX AI and LoRA are endless, and the only limit is your imagination.
Full Video Guide
In this video below, we look at how to access the ‘Realism’ LoRA for Flux (using the Replicate platform) and then compare some examples of images generated with this, compared to the standard Flux Dev model.
We are a non-profit community of AI enthusiasts and researchers dedicated to exploring and advancing the latest in generative AI technology. We are not affiliated with BlackForestLabs.ai
