How to Fine-tune FLUX.1
In this blog post I’ll walk you through the process of creating your own Flux.1 fine-tune using custom images
@zeke
9/4/20243 min read


The FLUX.1 family of image generation models was released earlier this month and quickly gained widespread attention for producing images that surpass the quality of existing open-source models. Shortly after the release, the community began developing new capabilities on top of FLUX, leading to the announcement of FLUX fine-tuning support on Replicate.
Fine-tuning FLUX on Replicate is straightforward; all you need is a small set of images to get started, with no deep technical expertise required. You can even create a fine-tune entirely online, without writing any code. The community has already published hundreds of public FLUX fine-tunes on Replicate, along with thousands of private ones.
Step 0: Prerequisites
Before you begin, ensure you have the following:
A Replicate account
A small set of training images
Two to three US dollars
Step 1: Gather Your Training Images
To fine-tune FLUX, you can start with as few as two training images, though it's recommended to use at least 10 for optimal results. The more images you include, the better the outcome, although training may take longer with a larger dataset.
When gathering your training images, keep these points in mind:
- Supported formats: WebP, JPG, and PNG
- Resolution: Aim for 1024x1024 or higher
- Filenames: No restrictions—name your files as you wish
- Aspect ratio: Any aspect ratio is acceptable—square, landscape, portrait, etc.
- Recommended minimum: 10 images
After collecting your images, place them in a folder named `data`. To create a zip file from this folder, run the following command to generate a file called `data.zip`:
zip -r data.zip data
Step 2: Choose a Unique Trigger Word
When fine-tuning an image model, you'll need to select a unique "trigger word" that you’ll include in your text prompts when generating images. For example:
`photo of YOUR_TRIGGER_WORD_HERE looking super-cool, riding on a segway scooter`
Here are some tips for choosing your trigger word:
- Uniqueness: Choose something distinctive, like `MY_UNIQ_TRGGR`. Think of it like a vanity license plate, but with no length limits.
- Avoid Common Words: Don’t use an existing word in any language, such as "dog" or "cyberpunk."
- Avoid 'TOK': Steer clear of `TOK` to prevent conflicts with other fine-tunes if you decide to combine them later.
- Case Sensitivity: Case doesn’t matter, but using capital letters can help make the trigger word stand out in your text prompt.
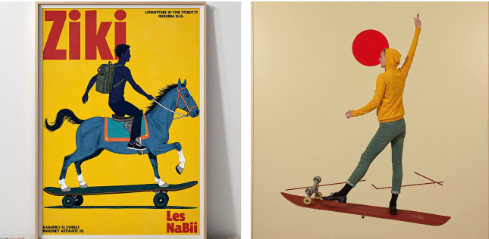
For example, in my `zeke/ziki-flux` fine-tune, I chose `ZIKI` as the trigger word—short, unique, and easy to remember.
Once you've settled on your trigger word, keep it in mind for the next step.
Step 3: Create and Train a Model
There are two ways to fine-tune Flux on Replicate: using the web-based training form or the API. While the API is excellent for creating and updating fine-tunes in an automated or programmatic manner, this guide will focus on using the web-based form, as it's simpler.
To begin, visit replicate.com/ostris/flux-dev-lora-trainer to start the web-based training process.
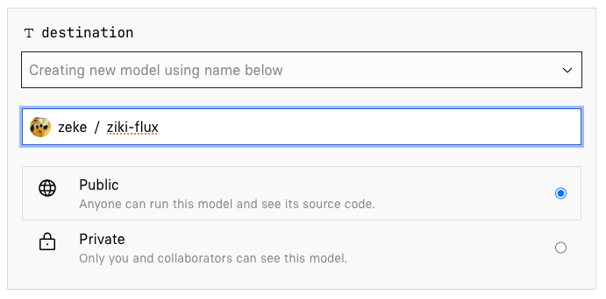
For the destination input, you’ll need to select a model to publish to. This could either be an existing model you've already created or a new one.


Step 4: Stand Up and Stretch
The training process is relatively quick, but it will take a few minutes. If you're using ten images and 1,000 steps, expect it to take around 20 minutes. Take this time to step away from your computer, stretch, grab a drink, and relax.
When you return, your model should be ready.
Step 5: Generate Images on the Web
Once training is complete, your model will be ready to run. The simplest way to get started is by generating images directly on the web.
All you need to do is enter a prompt. Flux excels with detailed prompts, so the more descriptive you are, the better the results. Don’t forget to include your trigger word in the prompt to activate your newly trained concept in the generated images.
We are a non-profit community of AI enthusiasts and researchers dedicated to exploring and advancing the latest in generative AI technology. We are not affiliated with BlackForestLabs.ai
